Shelly tutorial
Shelly [...] provides complete Smart Home Automation solution for your apartment, house or office and helps significantly
reduce electricity usage and cost, without changing the existing wiring or purchasing expensive and difficult to operate
the hardware.
–
shelly.cloud.
So, we are providing you our MQTT server to integrate your shellies with our cloud services,
like charts, alerts and command from everywhere you want.
Shelly MQTT documentation
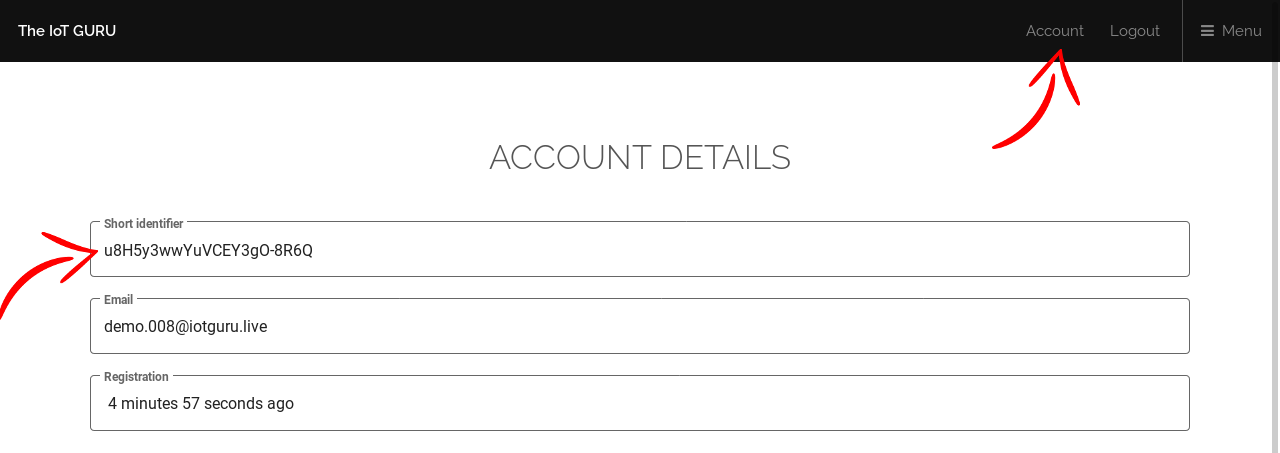
Step 1: Your short identifier
First of all, you will need your short identifier many times, locate it.
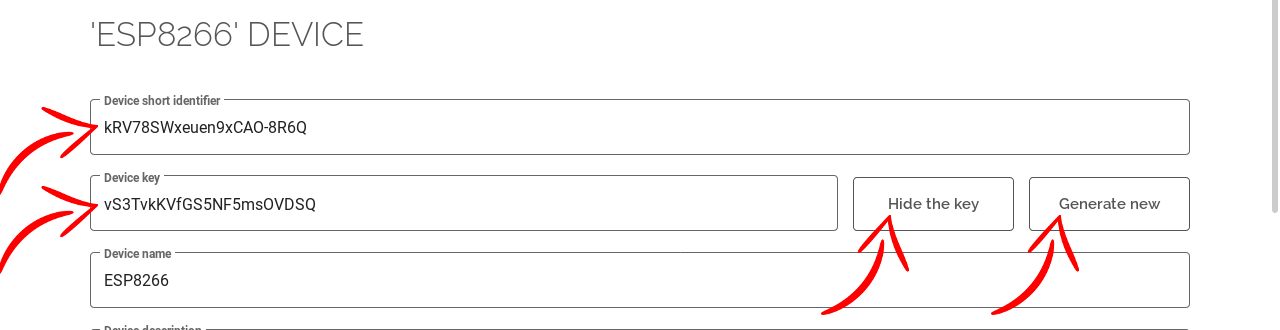
Step 2: Device short identifier and key
Also, you will need the short identifier and the key of one of your devices, locate it.
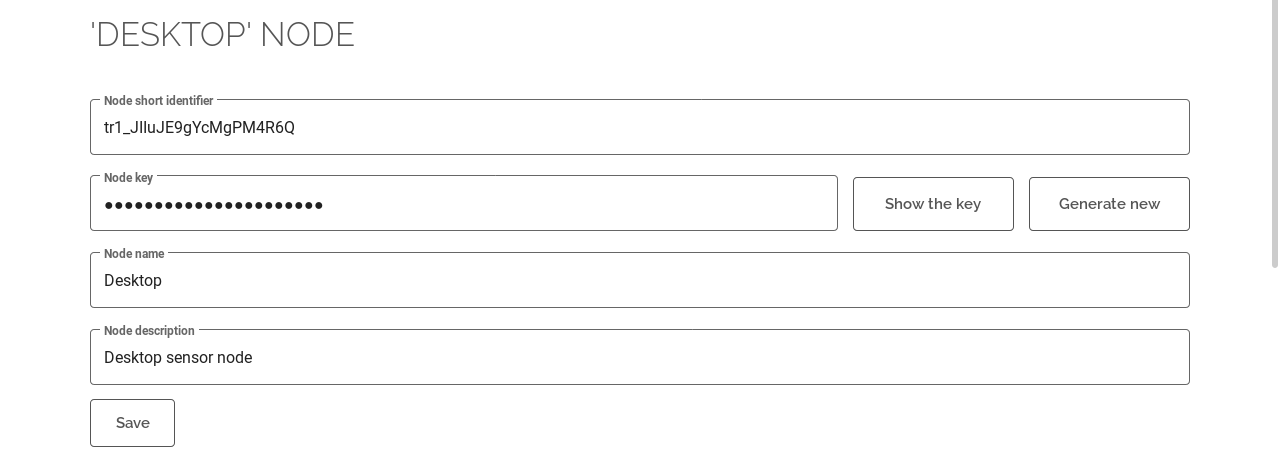
Step 3: Node short identifier
Also, you will need the short identifier of one of your nodes of your device, locate it.
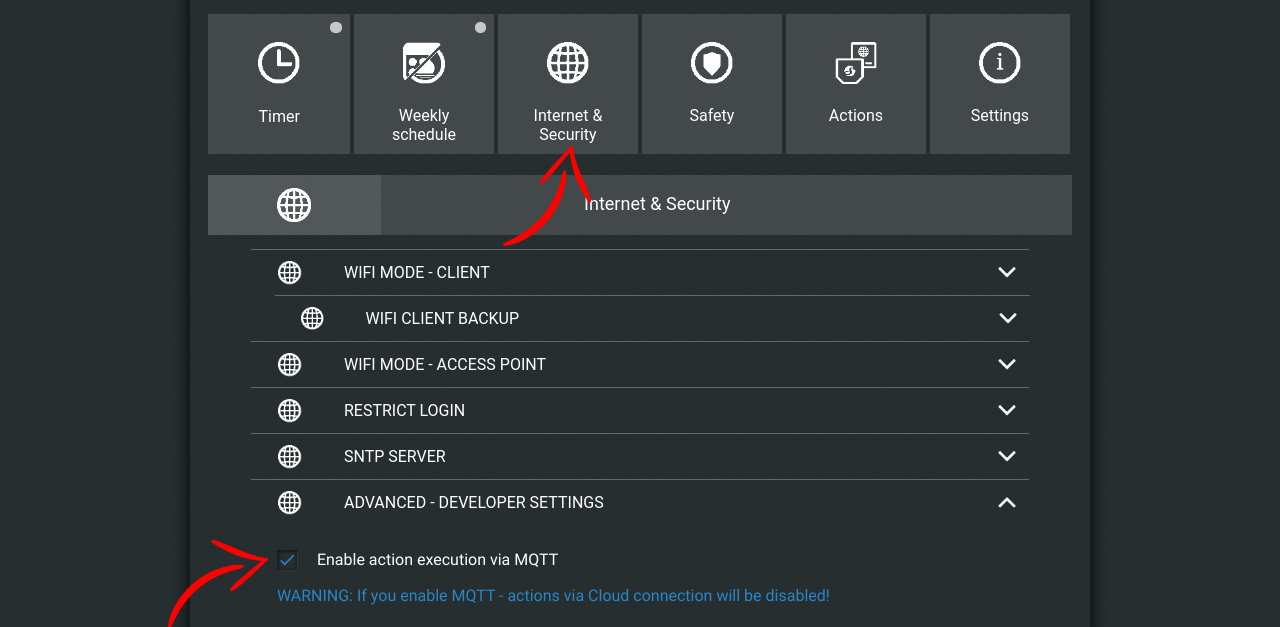
Step 4: Explore how to connect
To configure the Shelly's MQTT server, you can choose Internet & Security and enable the MQTT connection under the Advanced
- Developer Settings item:
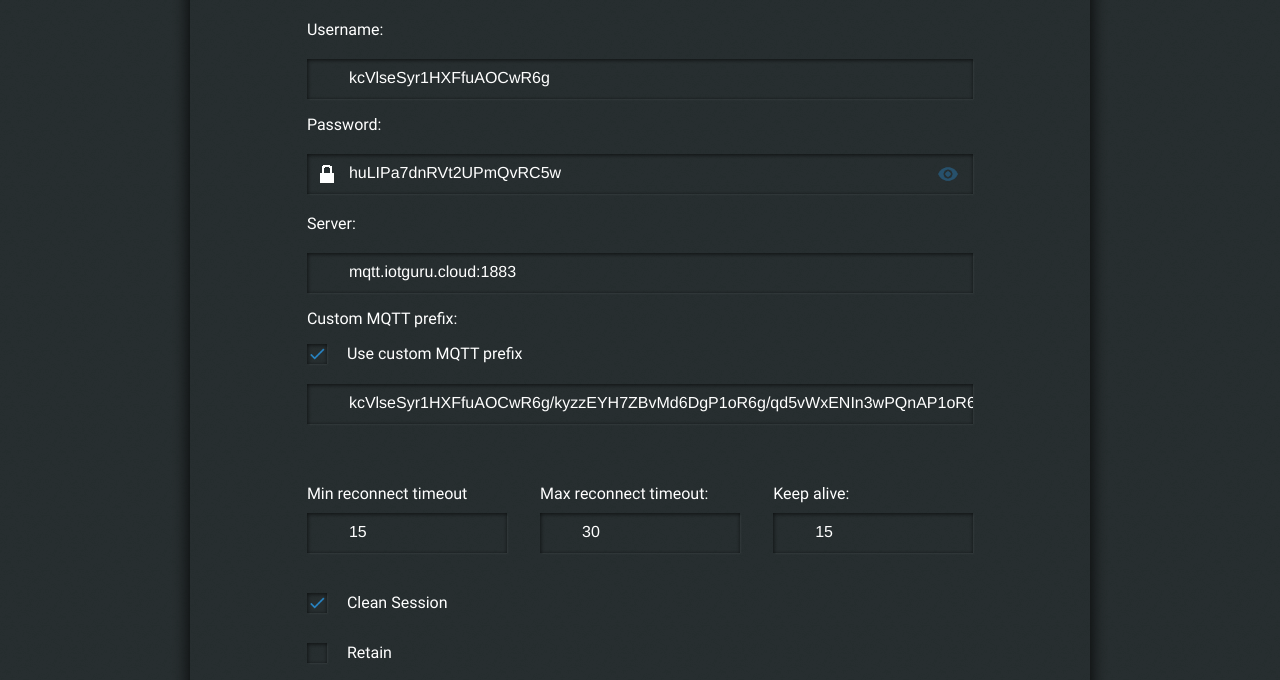
Step 5: Fill up the fields
To connect our MQTT server you need to fill up the form fields with the right values:
- Username: – your short identifier
- Password: – device key
- Server: – mqtt.iotguru.cloud
- Custom MQTT prefix: – {userShortId}/{deviceShortId}/{nodeShortId}
- Min reconnect timeout: – 15
- Max reconnect timeout: – 30
- Keep alive: – 15
Then push the Save button.
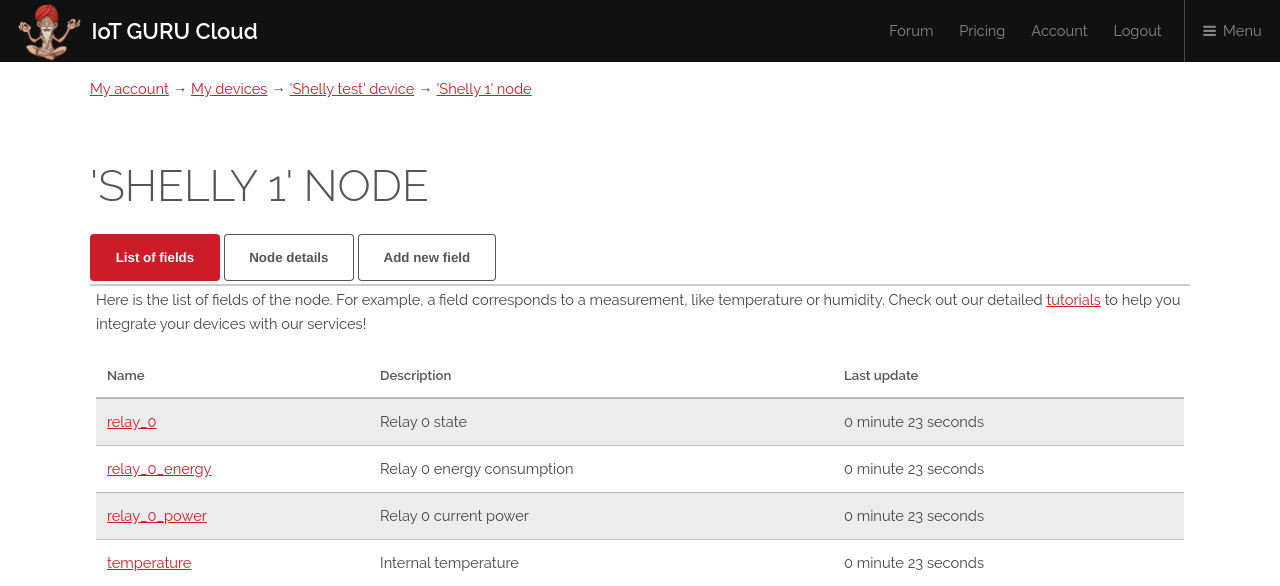
Step 6: Create the input and output fields
Your Shelly trying to send measurements through a several fields, that you need to create, refer the Shelly's MQTT documentation.
Replace the / to _:
- relay/0 – relay_0
- relay/0/command – relay_0_command
- relay/0/energy – relay_0_energy
- relay/0/power – relay_0_power
- temperature – temperature
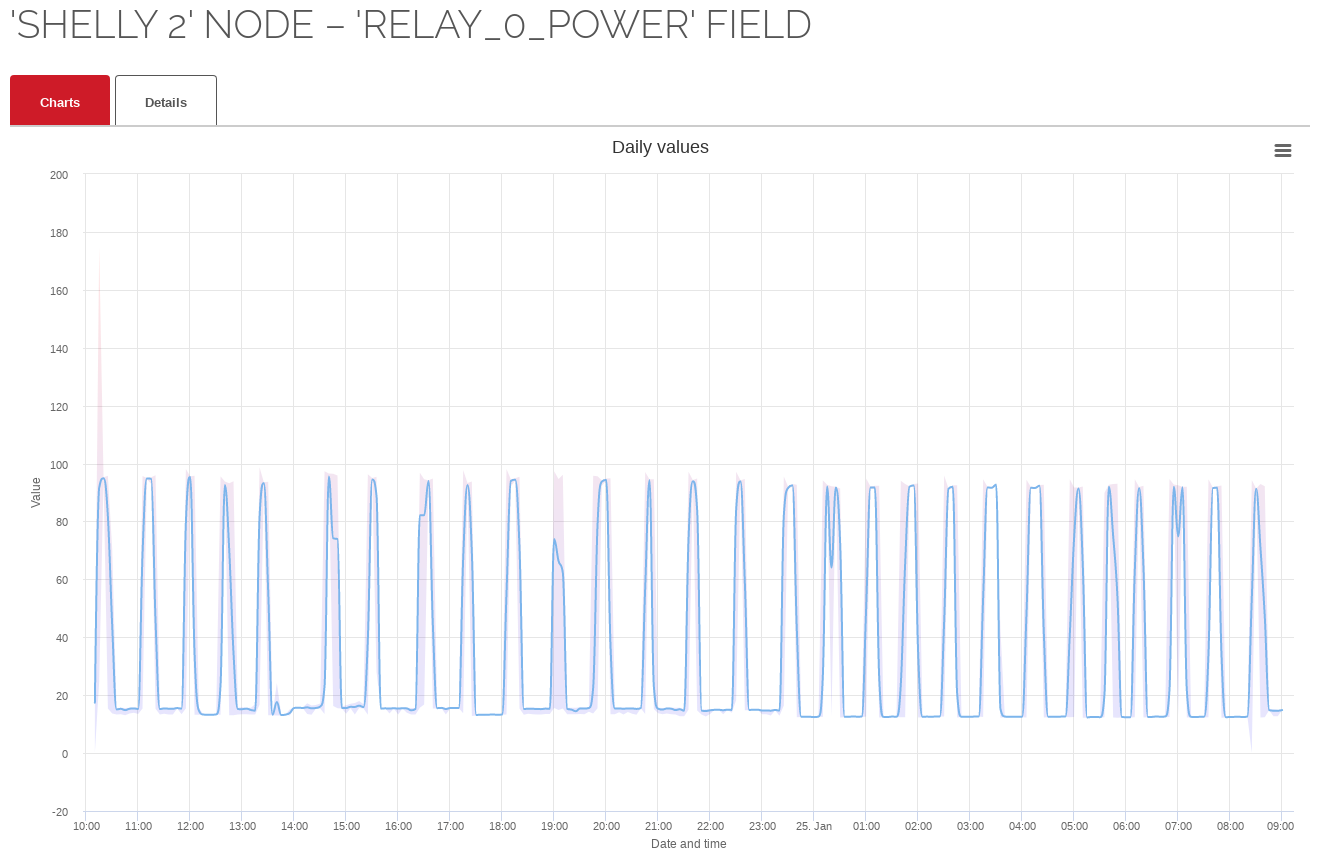
Step 7: Check the configuration
Relay 0 power.