Nodes tutorial
As you may known, in our terminology, a device corresponds to an IoT hardware – like
ESP8266 or Raspberry Pi – so that, the device is the entry point of your journey with our services.
Also, we have nodes and a node corresponds to a sensor or an actuator and attached to one device.
Step 0: Known your devices
Be sure you have read and understand the Devices section.
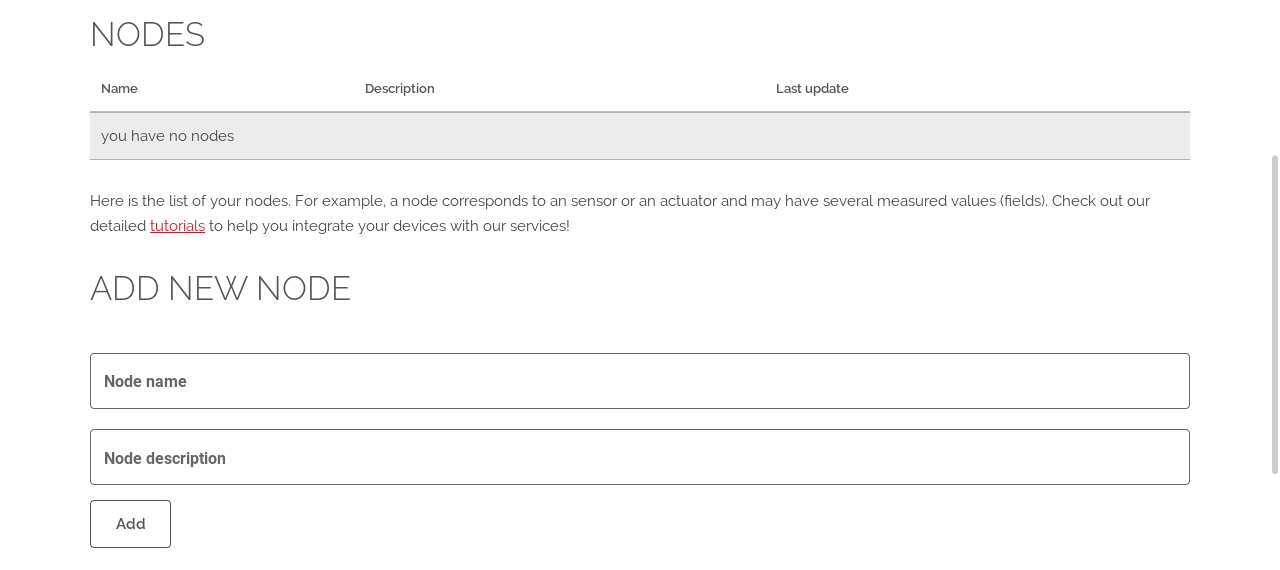
Step 1: List of your nodes
After you have created a device, there are no nodes in it.
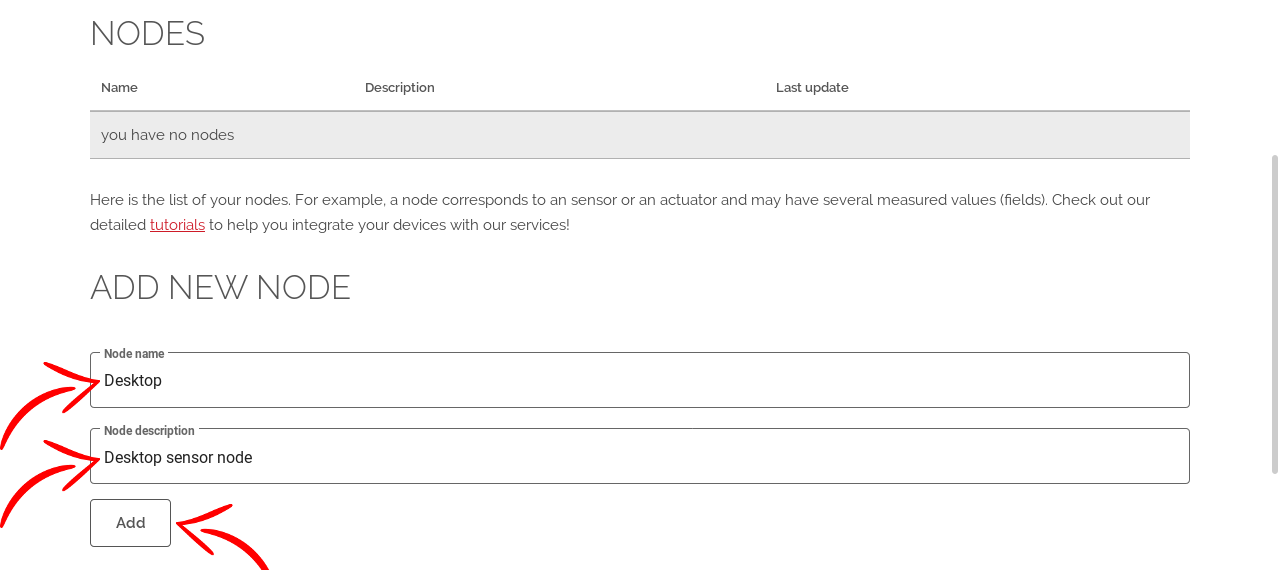
Step 3: Fill up the form
Give a name and a description to your node.
Step 4: Your new node is on the list
Check to see if your new node is on the list and tap or click on the name link.
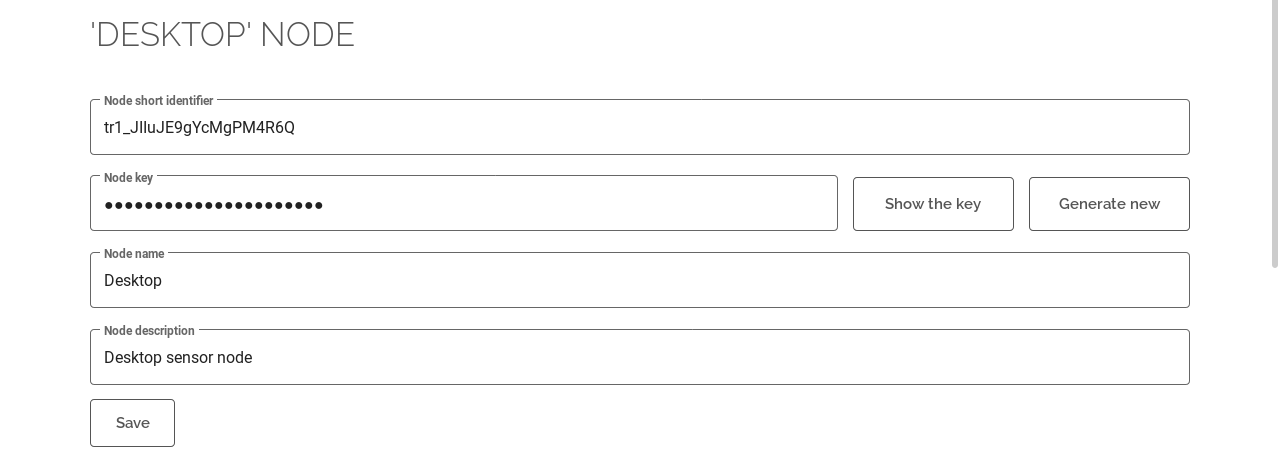
Step 5: Details of your node
Here is the details of your node, you can edit the editable fields and save the changes with the 'Save' button.
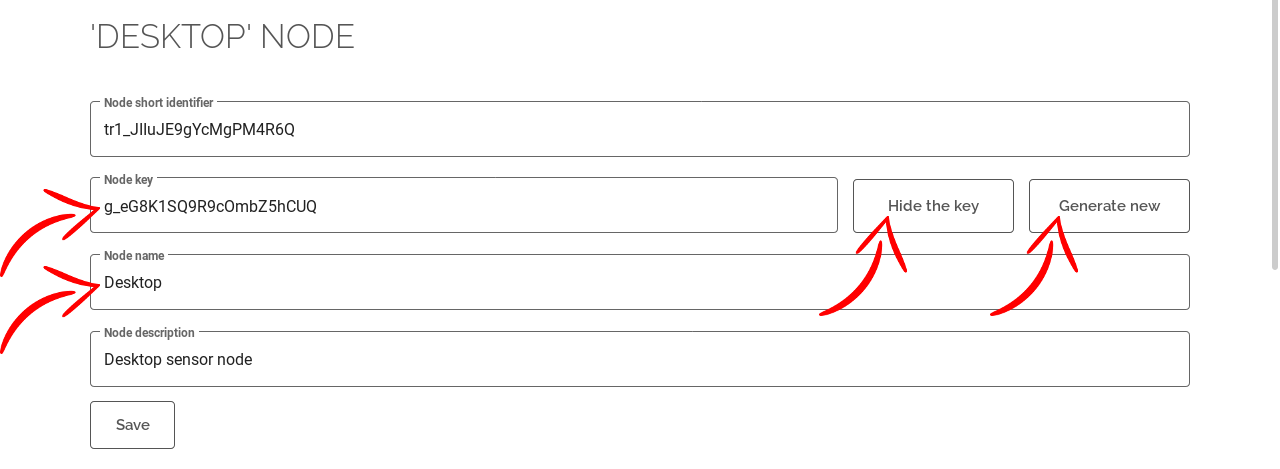
Step 6: The key and short identifier of your node
You will be need the short identifier and the key of your node, locate it. Also, you can show/hide it anytime and generate new if it is seen by anyone else than you allowed to see.